原本就是寫 Angular 框架的我,最近得知 Scully 屬 Angular 的靜態頁面產生器,激起了 我的好奇心所以開始了以下路程
官方文件:https://scully.io/
準備
使用環境
     _                      _                 ____ _     ___
    / \   _ __   __ _ _   _| | __ _ _ __     / ___| |   |_ _|
   / △ \ | '_ \ / _` | | | | |/ _` | '__|   | |   | |    | |
  / ___ \| | | | (_| | |_| | | (_| | |      | |___| |___ | |
 /_/   \_\_| |_|\__, |\__,_|_|\__,_|_|       \____|_____|___|
                |___/


Angular CLI: 10.1.6
Node: 12.9.1
OS: win32 x64

Angular: 10.1.5
... animations, common, compiler, compiler-cli, core, forms
... platform-browser, platform-browser-dynamic, router
Ivy Workspace: Yes

Package                         Version
---------------------------------------------------------
@angular-devkit/architect       0.1001.6
@angular-devkit/build-angular   0.1001.6
@angular-devkit/core            10.1.6
@angular-devkit/schematics      10.1.6
@angular/cli                    10.1.6
@schematics/angular             10.1.6
@schematics/update              0.1001.6
rxjs                            6.6.3
typescript                      4.0.3
先建立一個新的 ng 專案
ng new scully(專案名稱)新增 Scully
ng add @scullyio/init註:安裝完後 需重新啟動 ng serve
此時會新增一支 scully.<專案名稱>.config.ts 檔案主要是用來配置 靜態檔案的 router 的路徑
一開始的文件會是像這樣 此時 router 尚未設定
import { ScullyConfig } from '@scullyio/scully';
export const config: ScullyConfig = {
  projectRoot: './src',
  projectName: 'scully',
  outDir: './dist/static',
  routes: {},
};
在啟動 Scully 前,需先執行 (可以在 vscode 裡開一個新的 cmd)
ng build --prod執行完後 再啟動 scully
npm run scully所有的靜態頁面都會放在 ./dist/static 資料夾裡
開始建立 blog
官方參考文件:https://scully.io/docs/learn/create-a-blog/add-blog-support/
ng generate @scullyio/init:blog產生出以下檔案
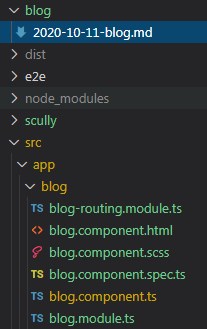
建立入口點 (首頁)
ng generate module home --route=home --module=app-routing在這裡 可以先在 package.json 裡的 script 加上
"scully:update": "ng build && npm run scully -- --scanRoutes --showGuessError && scully serve"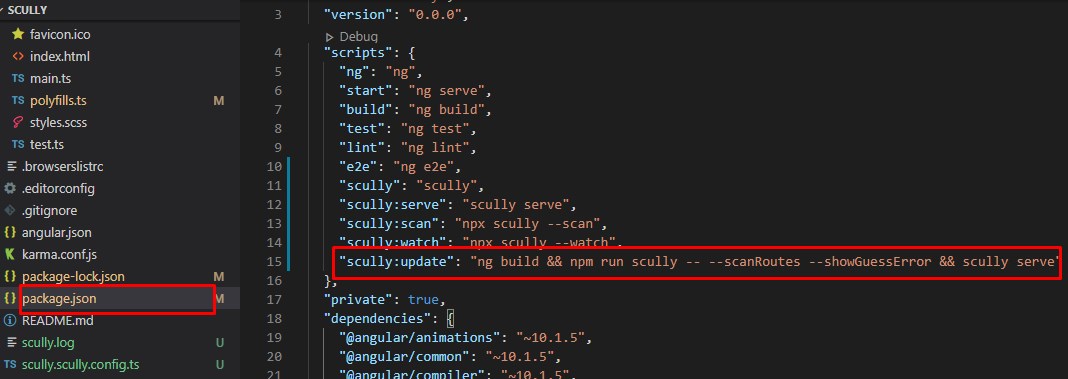
註:可參考 scully 各種執行命令
在 cmd 裡執行
npm run scully:update簡易的 blog 即完成囉!!
接下來就是開始撰寫各種 blog 的樣版啦!!
為程式程碼上色
Scully 內建了 PrismJS
官方參考文件:https://scully.io/docs/Reference/utilities/prism-js/
可以到 https://github.com/PrismJS/prism-themes 這裡找喜歡的顏色主題來使用
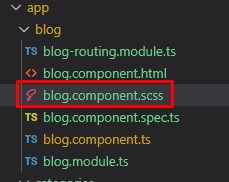
將喜歡的主題顏色 css 貼到 blog.css 裡
卡關點
來分享下我在學習 sully 時 花比較多時間理解的地方
因為思考著是否將原本的 hexo 改用 scully 而原本的 hexo 網址前面沒有 blog 所以希望 能在網址不要更動之下轉移
在網址對應這部份
例: scully.scully.config.ts
export const config: ScullyConfig = {
  projectRoot: './src',
  projectName: 'scully',
  outDir: './dist/static',
  routes: {
    '/blog/:slug': {
      //靜態頁面所組出的完整路徑
      type: RouteTypes.contentFolder,
      slug: {
        folder: './blog',
      },
    },
  },
};
app-routing.module.ts
const routes: Routes = [
  {
    path: 'home',
    pathMatch: 'full',
    loadChildren: () => import('./home/home.module').then((m) => m.HomeModule),
  },
  {
    path: 'blog', //angular 設定的路徑
    loadChildren: () => import('./blog/blog.module').then((m) => m.BlogModule),
  },
];
scully.scully.config.ts 裡的 routes 路徑 必須與 app-routing.module.ts 裡的 path 對應所產生的路徑才會正確,變數名稱也是一樣